Complete Walkthrough of Trézor.io/start for Safe Crypto Onboarding
Access the Official Setup Portal via Trézor.io/start
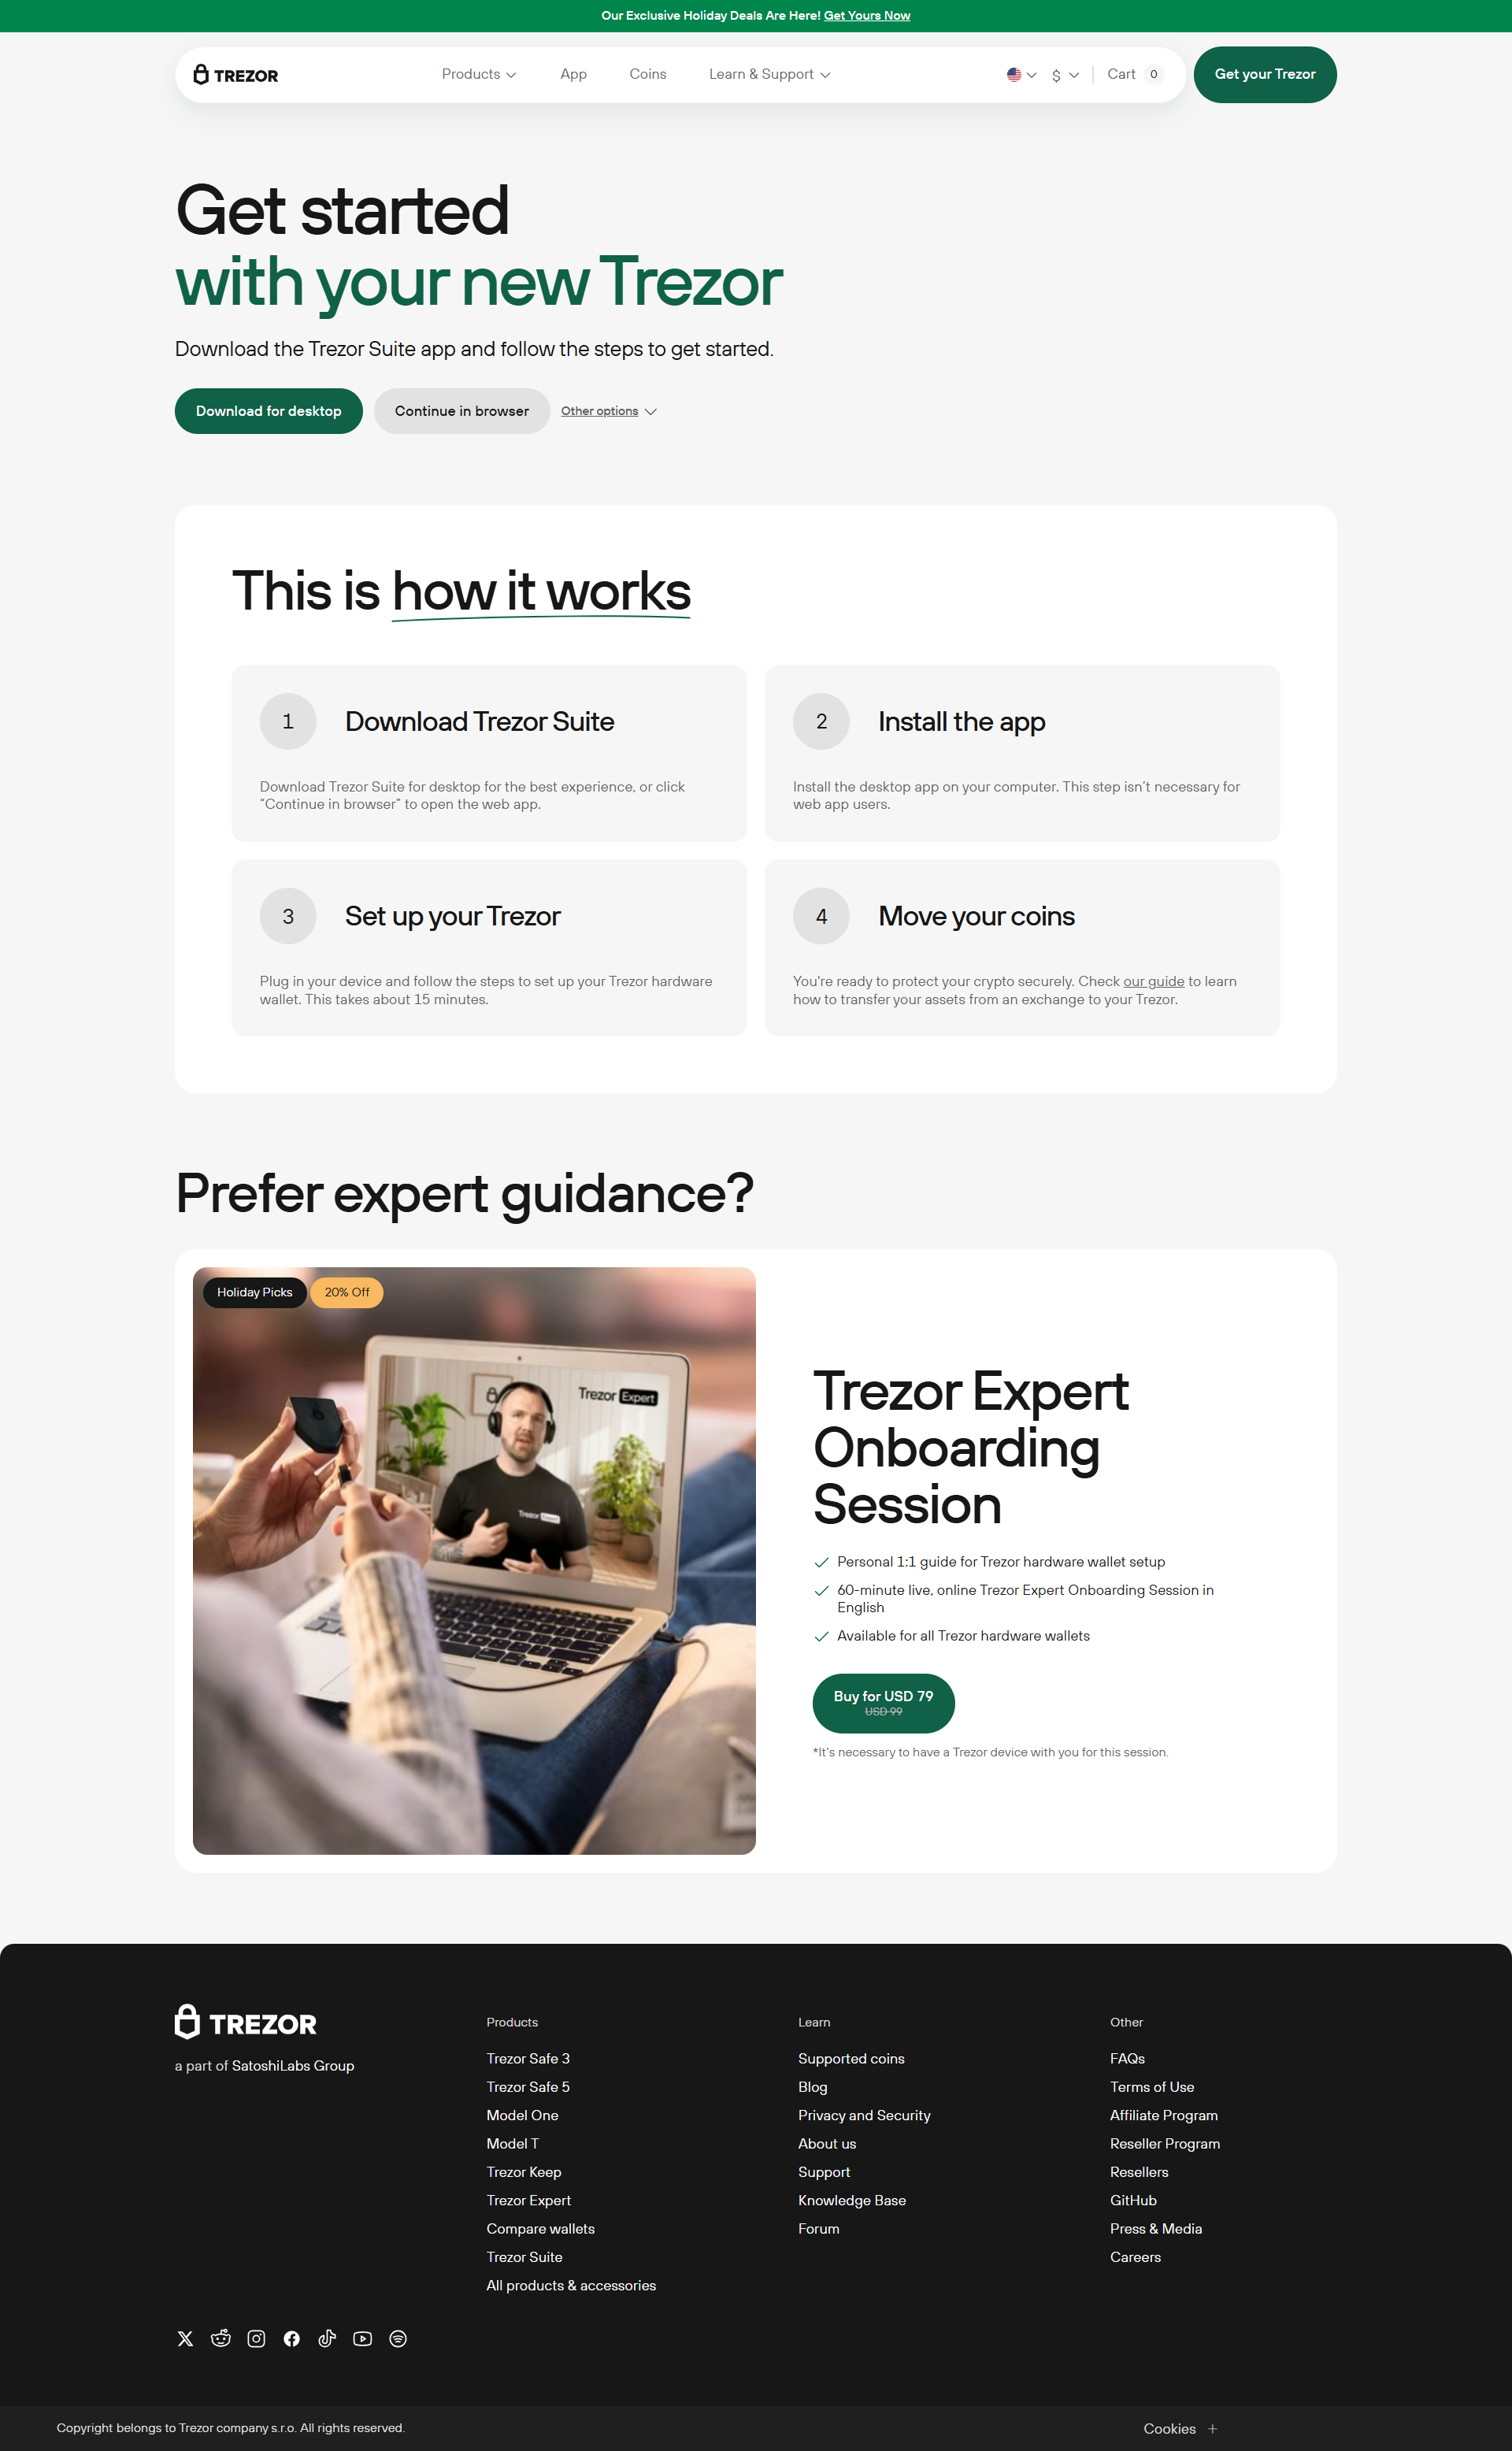
Trézor.io/start is the only legitimate site to begin using your Trézor Hardware Wallet. Whether you’ve purchased a Trézor Model One or the advanced Model T, this portal will guide you through verified setup steps, ensuring your crypto journey starts with maximum protection.
From downloading official software to learning how to store your recovery seed, every step is designed to keep your funds secure and under your control.
Installing Trézor Suite Through Trézor.io/start
What Is Trézor Suite and Why Is It Needed?
Trézor Suite is the desktop interface used to communicate with your hardware wallet. It’s available on Windows, macOS, and Linux. The installation process is initiated directly from Trézor.io/start, where users can download the latest version without risk of third-party tampering.
Benefits of Trézor Suite
- All-in-one control for portfolio management
- Coin exchange functionality with secure confirmation
- Multi-account support
- Real-time market data and analytics
- Privacy controls including Tor support
Run the Suite and Detect Your Device
Once downloaded and installed, open Trézor Suite and connect your device using the provided USB cable. The software will automatically recognize your Trézor and prompt further setup actions.
Firmware Verification and Device Initialization
Ensure Device Authenticity
As a security-first step, Trézor.io/start and Trézor Suite will verify whether the connected device is genuine. If firmware is missing or outdated, you’ll be prompted to install or update it. Only do this through the official Suite interface to avoid malicious interference.
Create a Secure PIN Code
You’ll be guided to create a PIN using the Trézor screen itself. This PIN ensures only you can use the device when it’s connected to your computer.
Recovery Seed: Your Ultimate Backup Tool
Understanding the Seed Phrase
During the wallet creation process, your Trézor Hardware Wallet will display a 12- or 24-word seed phrase. This sequence is the only way to restore your wallet if the device is lost, stolen, or damaged.
Seed Phrase Best Practices
- Write it down clearly and correctly
- Never store it on a digital device
- Avoid taking screenshots or cloud backups
- Keep it in a secure location offline
Installing Trézor Bridge for Web Browser Compatibility
When to Use Trézor Bridge
If you prefer to interact with your wallet through the Trézor Web Suite, you may need Trézor Bridge to establish a secure connection between your device and browser.
This lightweight application runs in the background and facilitates communication between your wallet and Trézor’s web interface.
Installing Trézor Bridge from Trézor.io/start
- Navigate to Trézor.io/start
- Select “Install Trézor Bridge”
- Choose your operating system
- Download and run the installer
- Restart your browser after installation
Once Bridge is running, Trézor Web Suite can communicate seamlessly with your device.
Post-Setup Tools and Features in Trézor Suite
Multi-Currency Wallet Support
After setup is complete, you can begin using your wallet to send and receive a wide array of cryptocurrencies including Bitcoin, Ethereum, Litecoin, and ERC-20 tokens.
Hidden Wallets with Passphrases
For extra privacy, Trézor Suite allows you to activate hidden wallets by using passphrases. These wallets are not visible without the specific passphrase, making them ideal for long-term cold storage.
Enable Advanced Privacy Controls
- Activate Tor routing
- Limit online data exposure
- Create watch-only accounts for monitoring without device access
Protect Your Wallet from Common Threats
Avoid Phishing and Fake Setup Sites
Only use Trézor.io/start to begin setup. Fake URLs can mimic Trézor branding and trick users into entering sensitive information.
Don’t Share Your Recovery Seed
No legitimate support team or application will ever ask for your seed phrase. Sharing it puts your entire wallet at risk of theft.
Double-Check URLs and Firmware Prompts
Before proceeding with any setup or update, ensure the web address is exactly Trézor.io/start. Do not accept firmware updates from pop-ups or third-party prompts.
Why Start With a Trézor Hardware Wallet?
Offline Security Model
Trézor Hardware Wallets function as cold storage, meaning your private keys never leave the device or touch the internet. This eliminates most common attack vectors such as keyloggers and remote hacking attempts.
Physical Confirmation of Transactions
To execute any transaction, users must physically verify and approve the action using the Trézor screen. This extra layer of authentication prevents unauthorized movements of your funds.
Audited and Open-Source Codebase
Trézor’s open-source code allows for full public scrutiny, making it a transparent and trustworthy choice for securing digital assets.
Conclusion: Begin Securely at Trézor.io/start
Starting your crypto journey through Trézor.io/start sets a secure foundation for everything that follows. By downloading Trézor Suite, using Trézor Bridge when necessary, and securing your Trézor Hardware Wallet, you are taking full responsibility and control over your assets.
Whether you’re new to crypto or a seasoned investor, starting right ensures your funds stay safe in a world where digital theft is all too common. Visit Trézor.io/start today and make security your first step.